SuperXtra

In this section I would like to illustrate the assembly of the SuperXtra model that I brought home from Germany in October. I started preparing to put it together in late November. This firm’s model does not require a lot of time to assemble – just around 40 hours maximum and it’s ready to fly. I hope to have it ready for its maiden flight in spring...
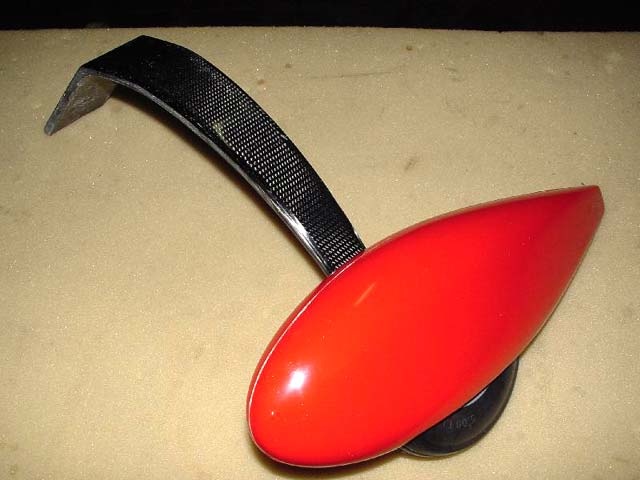
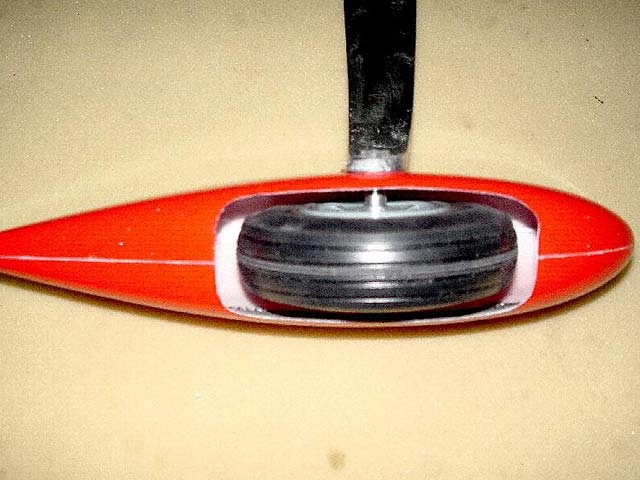
This time I used 125 mm wheels from DuBro. In previous models I had used extremely light wheels from Kavan, but I kept having problems with the valves, so now I’m trying slightly heavier ones, not inflated. The fairing is not fastened rigidly, so that if scraped it doesn’t crack, but just bends lightly and can easily be straightened back to the correct position.
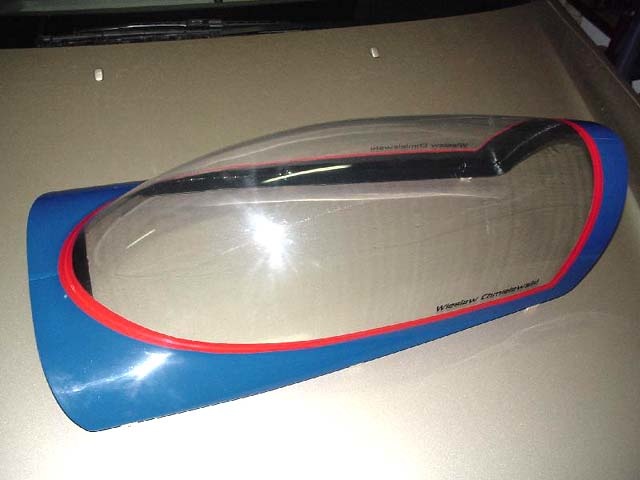
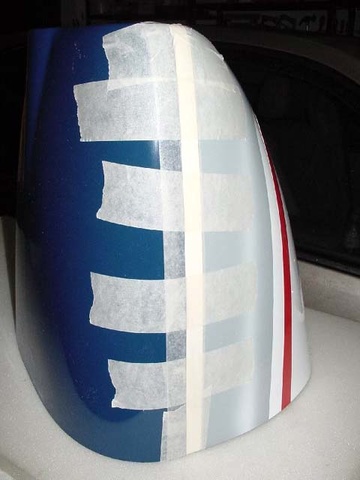
Once when I was matching the Perspex to the frame I badly scratched the cabin. Since then I’ve always been generous with painter’s tape. This ensures that the "mummy" can’t possibly get damaged. For sticking you can also use very high-quality German or American CA glue, for which a good accelerant will also be necessary.
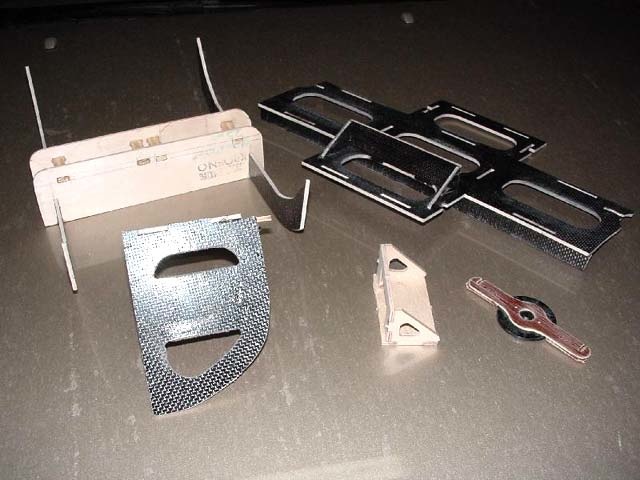
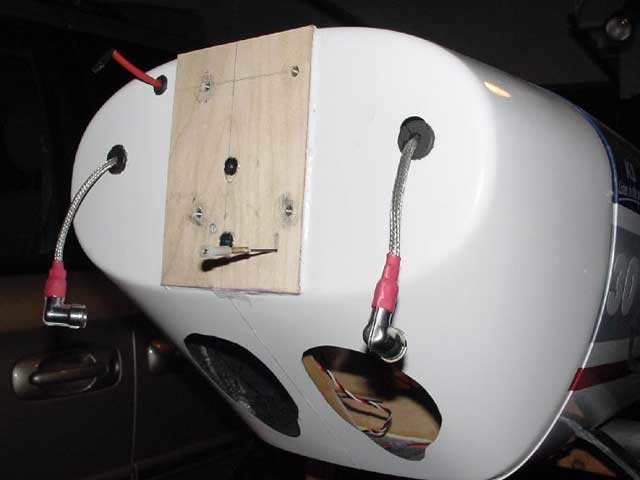
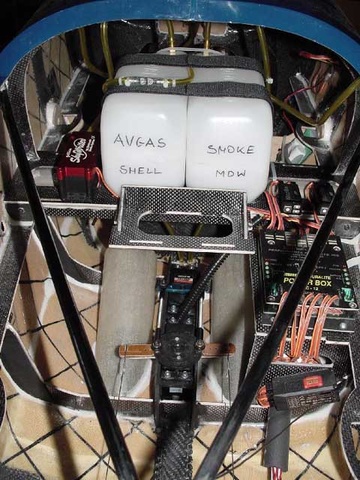
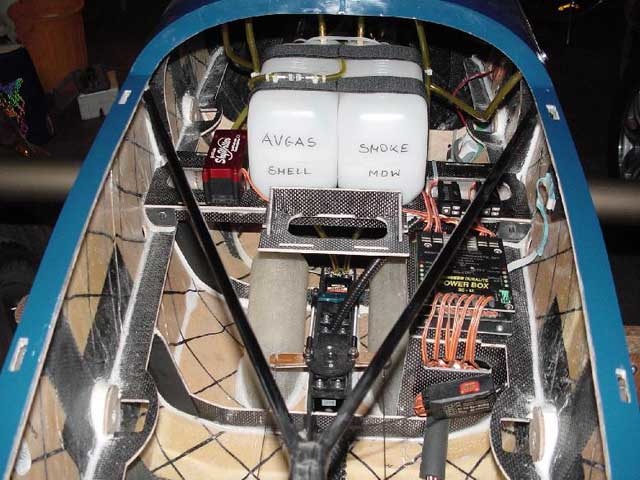
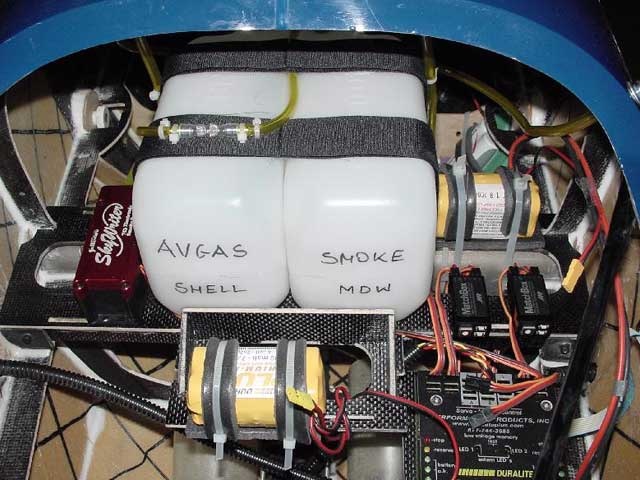
All this will be inside the fuselage for mounting the tanks, Power Box, engine servo and two large servos for the rudder.
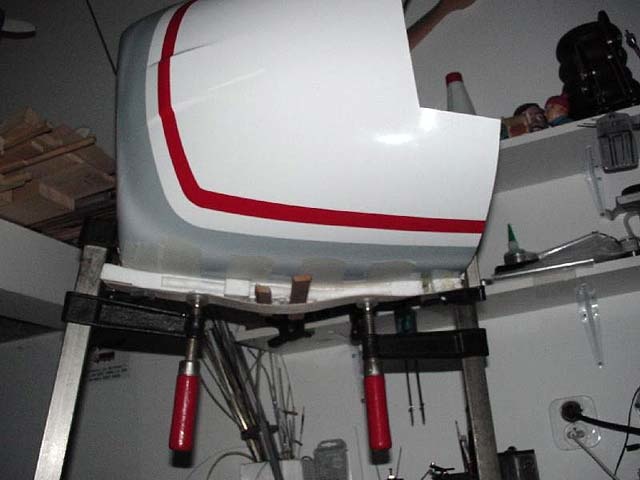
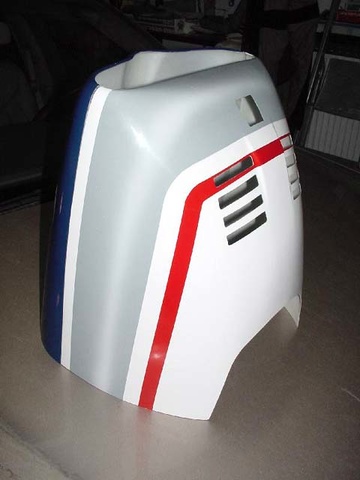
The engine hood is made up of upper and lower sections. The upper section can be attached to the lower using small wood screws, which lets you access the engine without removing the airscrew and the hood. I stick it on permanently.
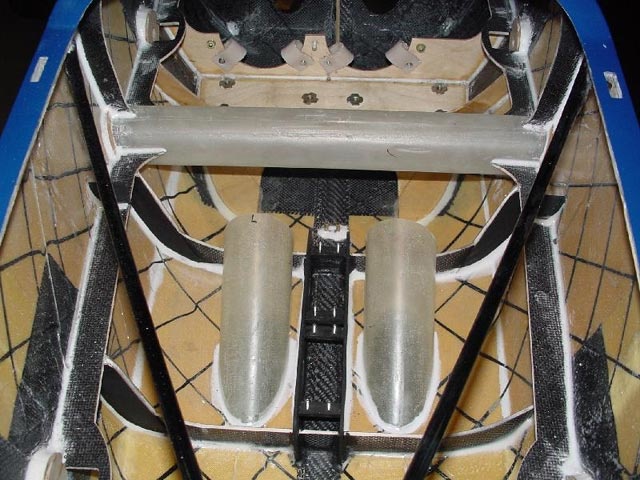
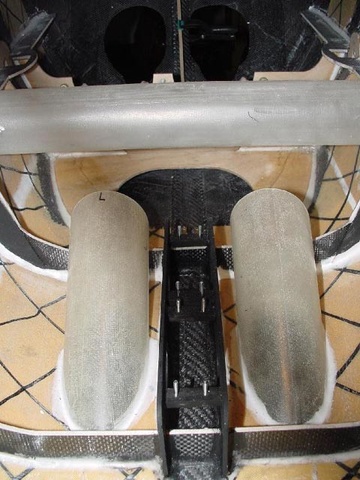
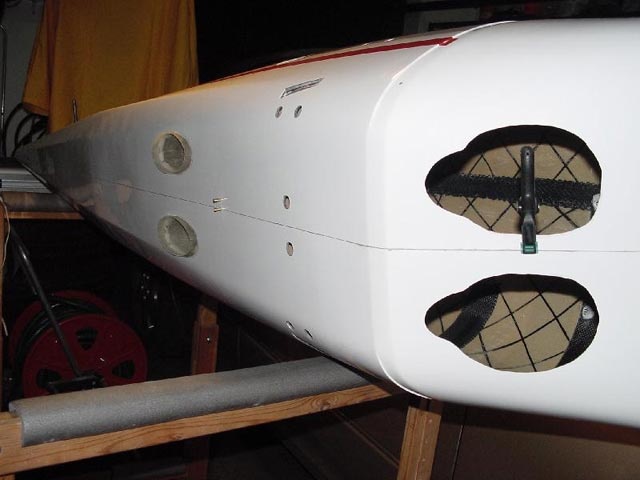
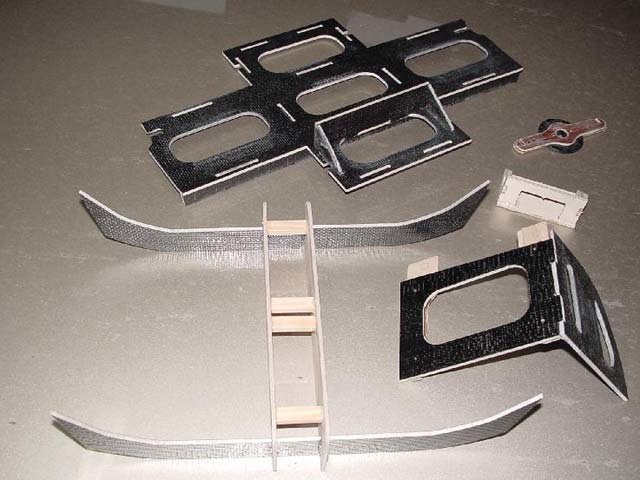
The ventilation slats will help cool the interior of the fuselage and protect it from being made dirty by exhaust gases and smoke from the smoke pump. The Power Box is an internal device which is particularly sensitive to contamination by exhaust gases.
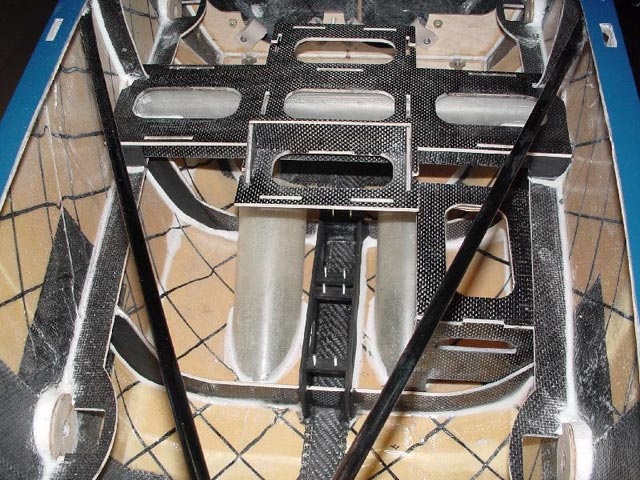
The interior of the fuselage is ready for mounting the tanks, smoke pump, Power Box, receiver, batteries and rudder servos.
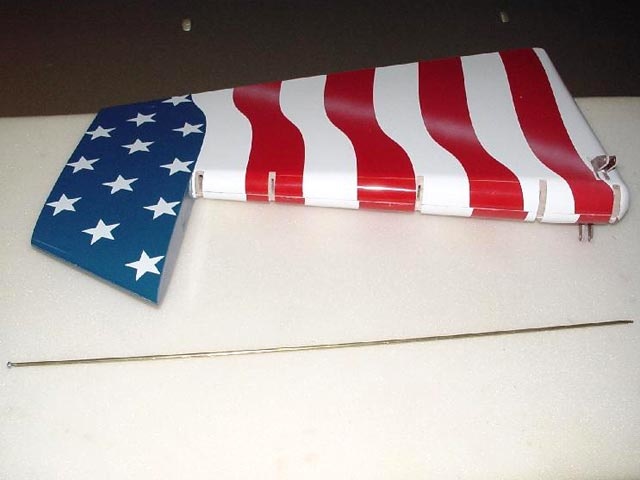
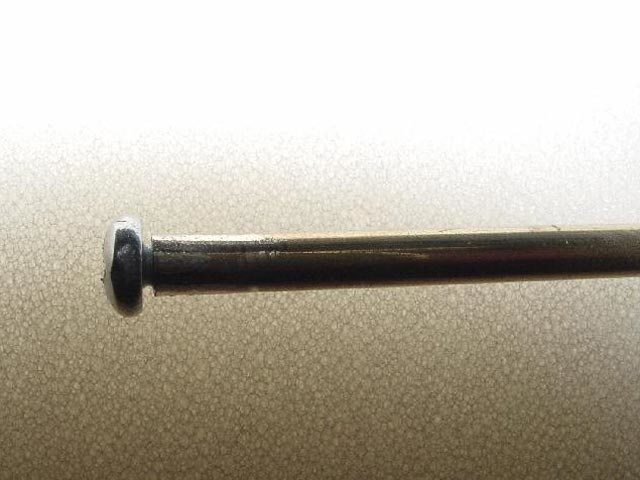
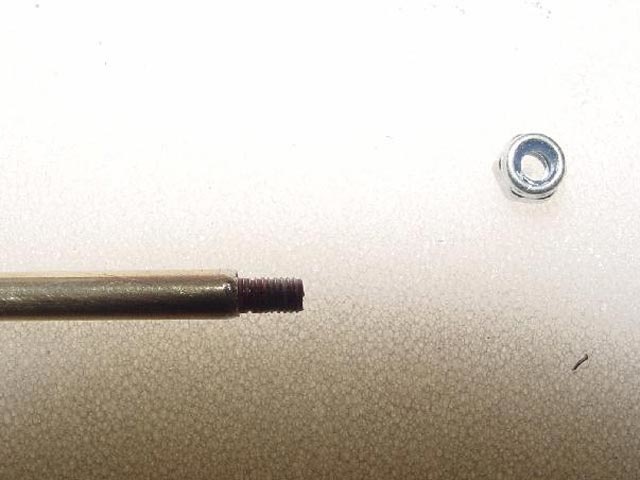
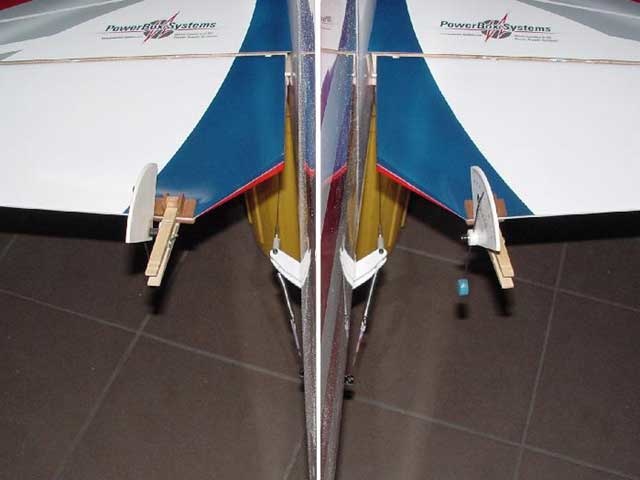
The rudder is attached using a brass “number four”. On one side I forced in a wood screw, and on the other I glued in a 3mm headless screw. It ought to work.
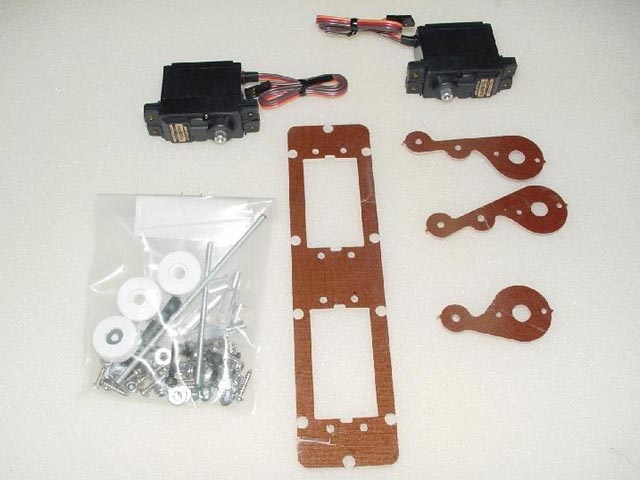
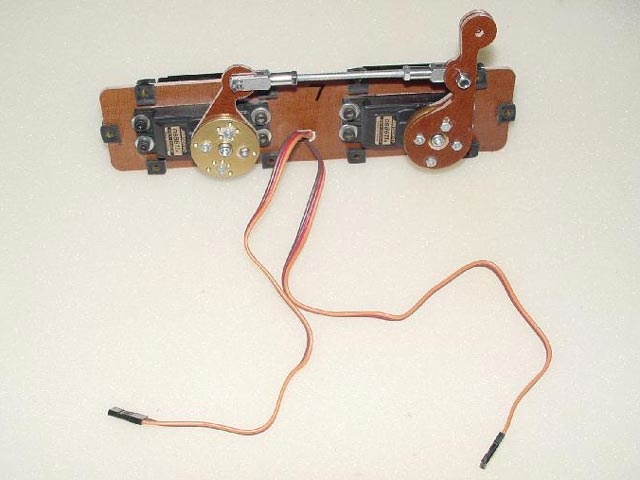
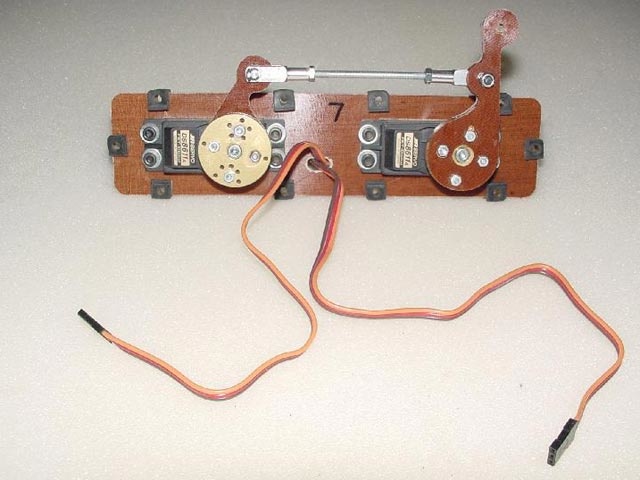
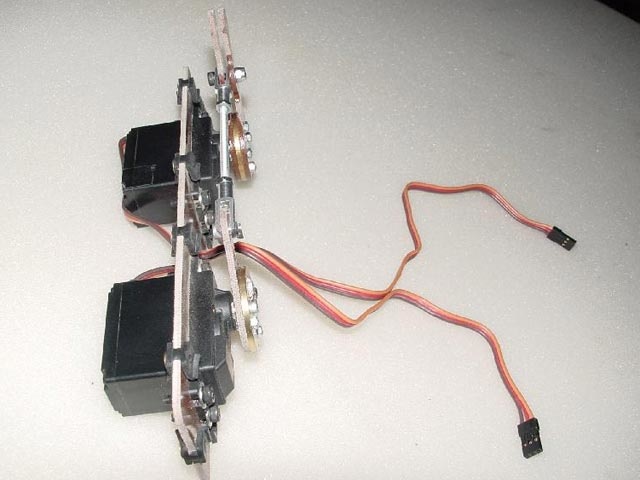
Servo setup for the aileron – this firm supplies
everything along with the plane (apart from the servos), including every last
screw. I used two of the latest
24 kg JR8611A models.
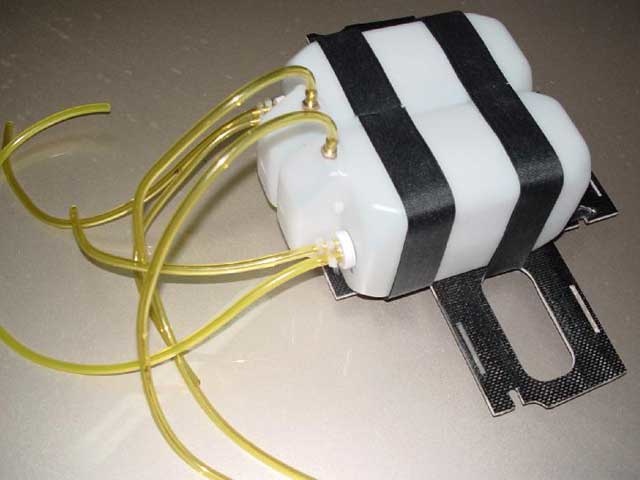
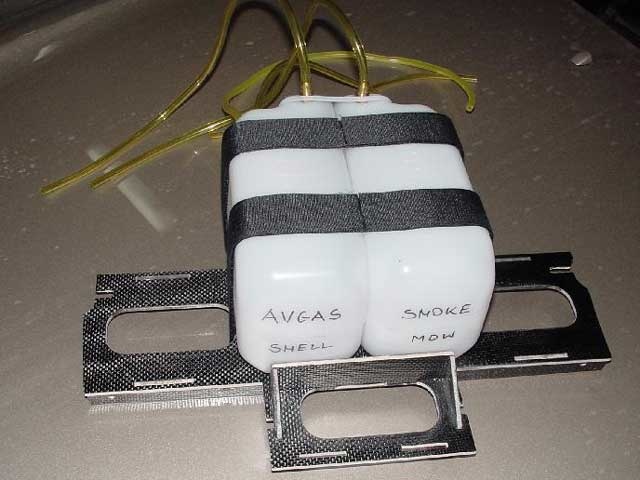
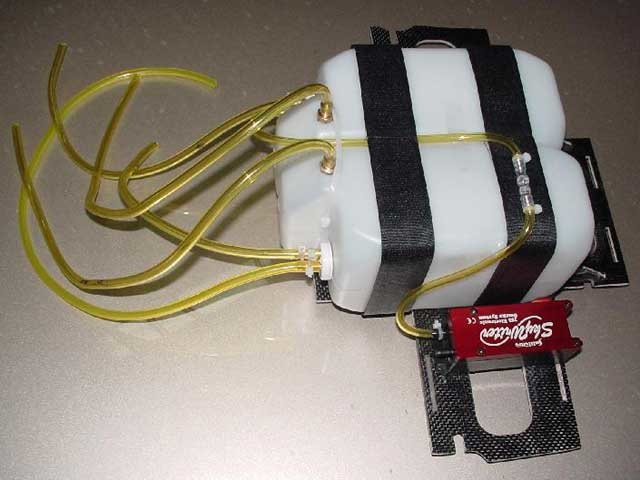
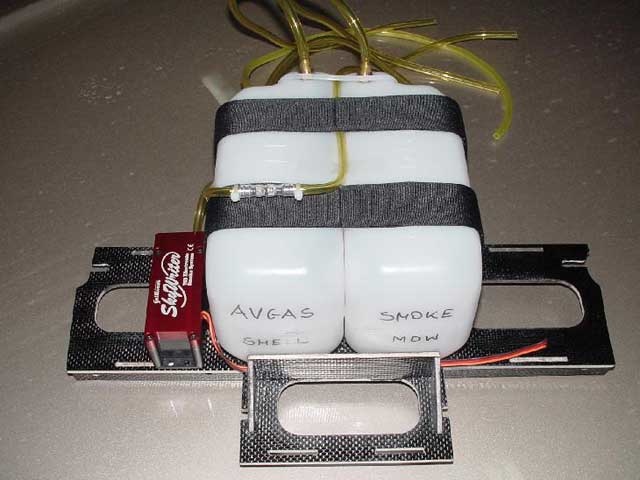
I will mount the tanks on a ledge above the pipe holding the wings in the model’s centre of gravity. The batteries and two Match Boxes for the elevators will also be mounted on this ledge. If necessary it will be possible to take the whole thing out, for example to make access easier to the plate attaching the main undercarriage, following a particularly hard landing.
Everything is ready for the engine to be mounted.
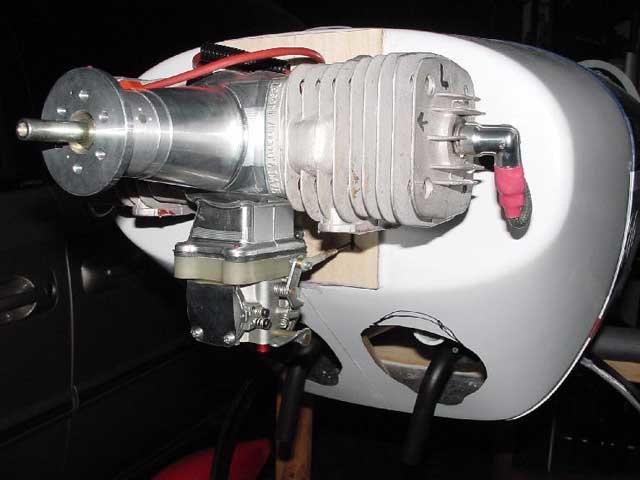
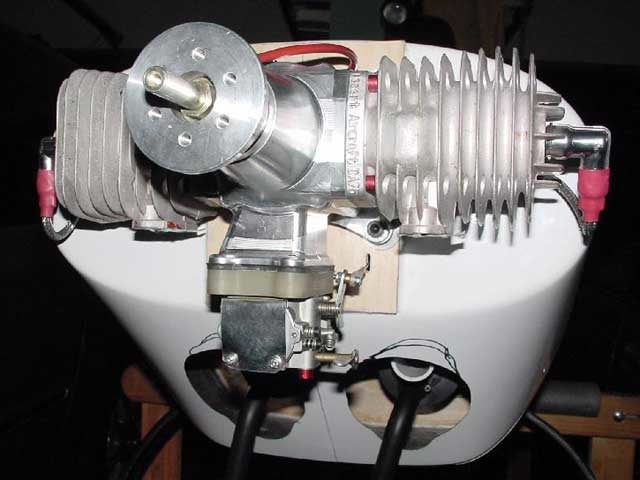
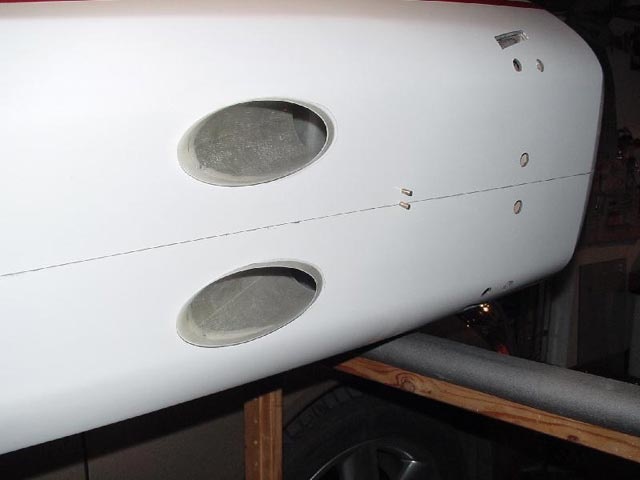
After mounting the engine and checking the fit of the silencers it turns out that the holes for the silencers are too small and too low – more will have to be cut out in the fuselage.
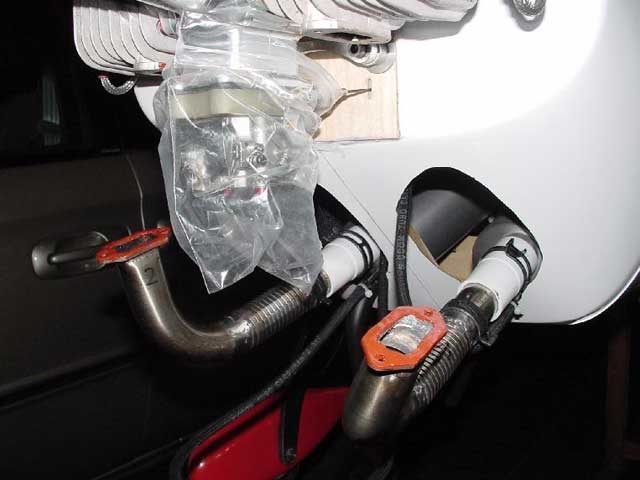
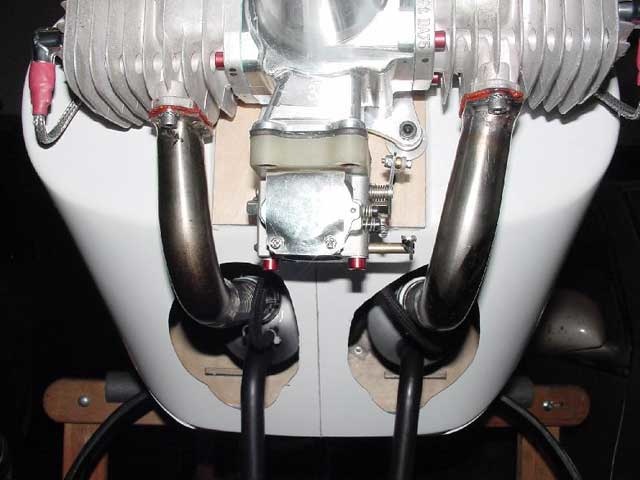
I don’t use factory seals between the collectors and the cylinders. High-temperature silicone is a superior solution. I apply a layer of about 2 or 2.5 mm, then level it with a finger with plenty of saliva, and wait about 15 minutes for the silicone to dry. After that the collectors can finally be screwed on.
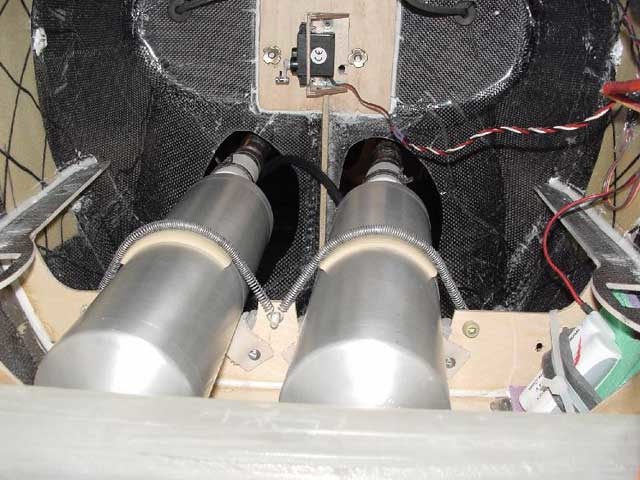
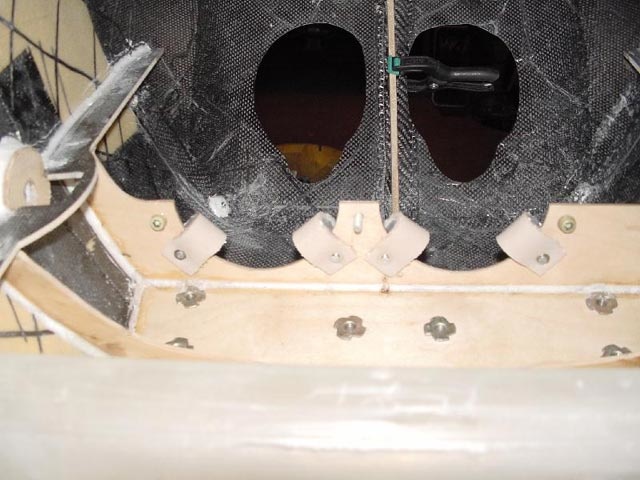
And this is how it looks from the inside...
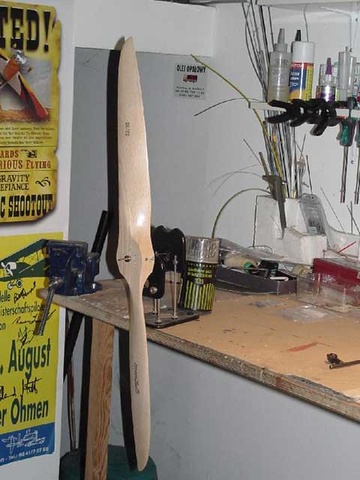
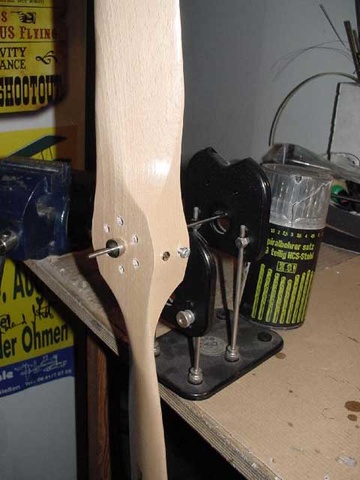
In a large model the propeller has to be perfectly balanced. First you need to balance the blades. There are many ways to do this, the simplest being to sandpaper down the heavier blade. I do it by spraying colourless varnish from an aerosol onto the lighter blade. I use mainly wooden airscrews, and so a bit of varnish will certainly do no harm.
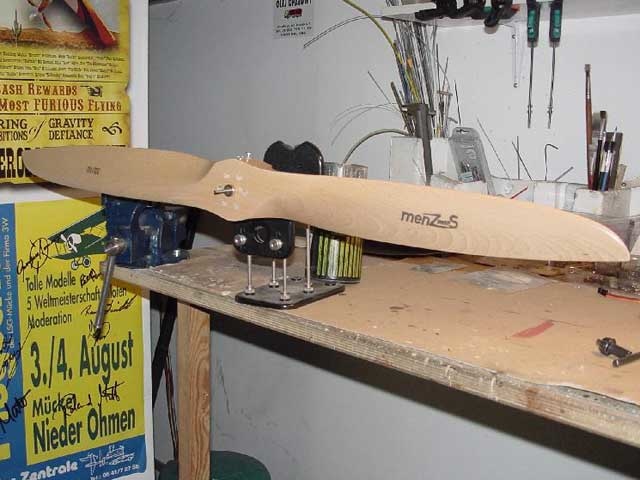
When the blades have been balanced, you have to balance the propeller hub. This is best done by putting in a screw or two at the appropriate place on the hub as necessary. A perfectly balanced airscrew will stand still at any position on the device.
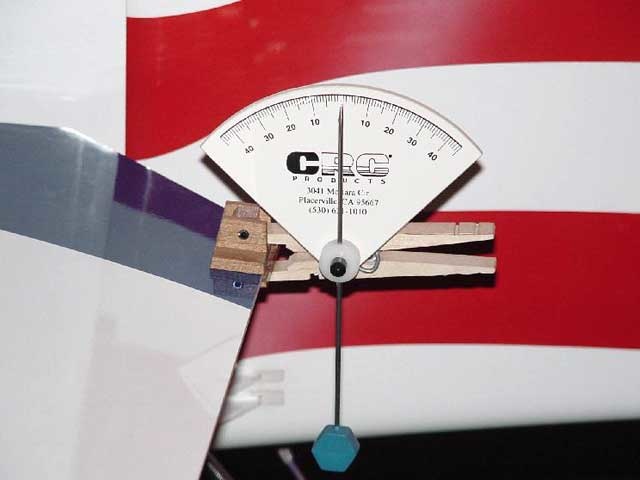
It really doesn’t hurt to have accurately set elevator displacements. Using an instrument like this you can do it without levelling the aircraft. If you want to do it quickly, you’ll need two instruments for measuring the displacements of the elevators.
And that was the last thing I did before taking the model for its main test flight. Next report from the airfield.